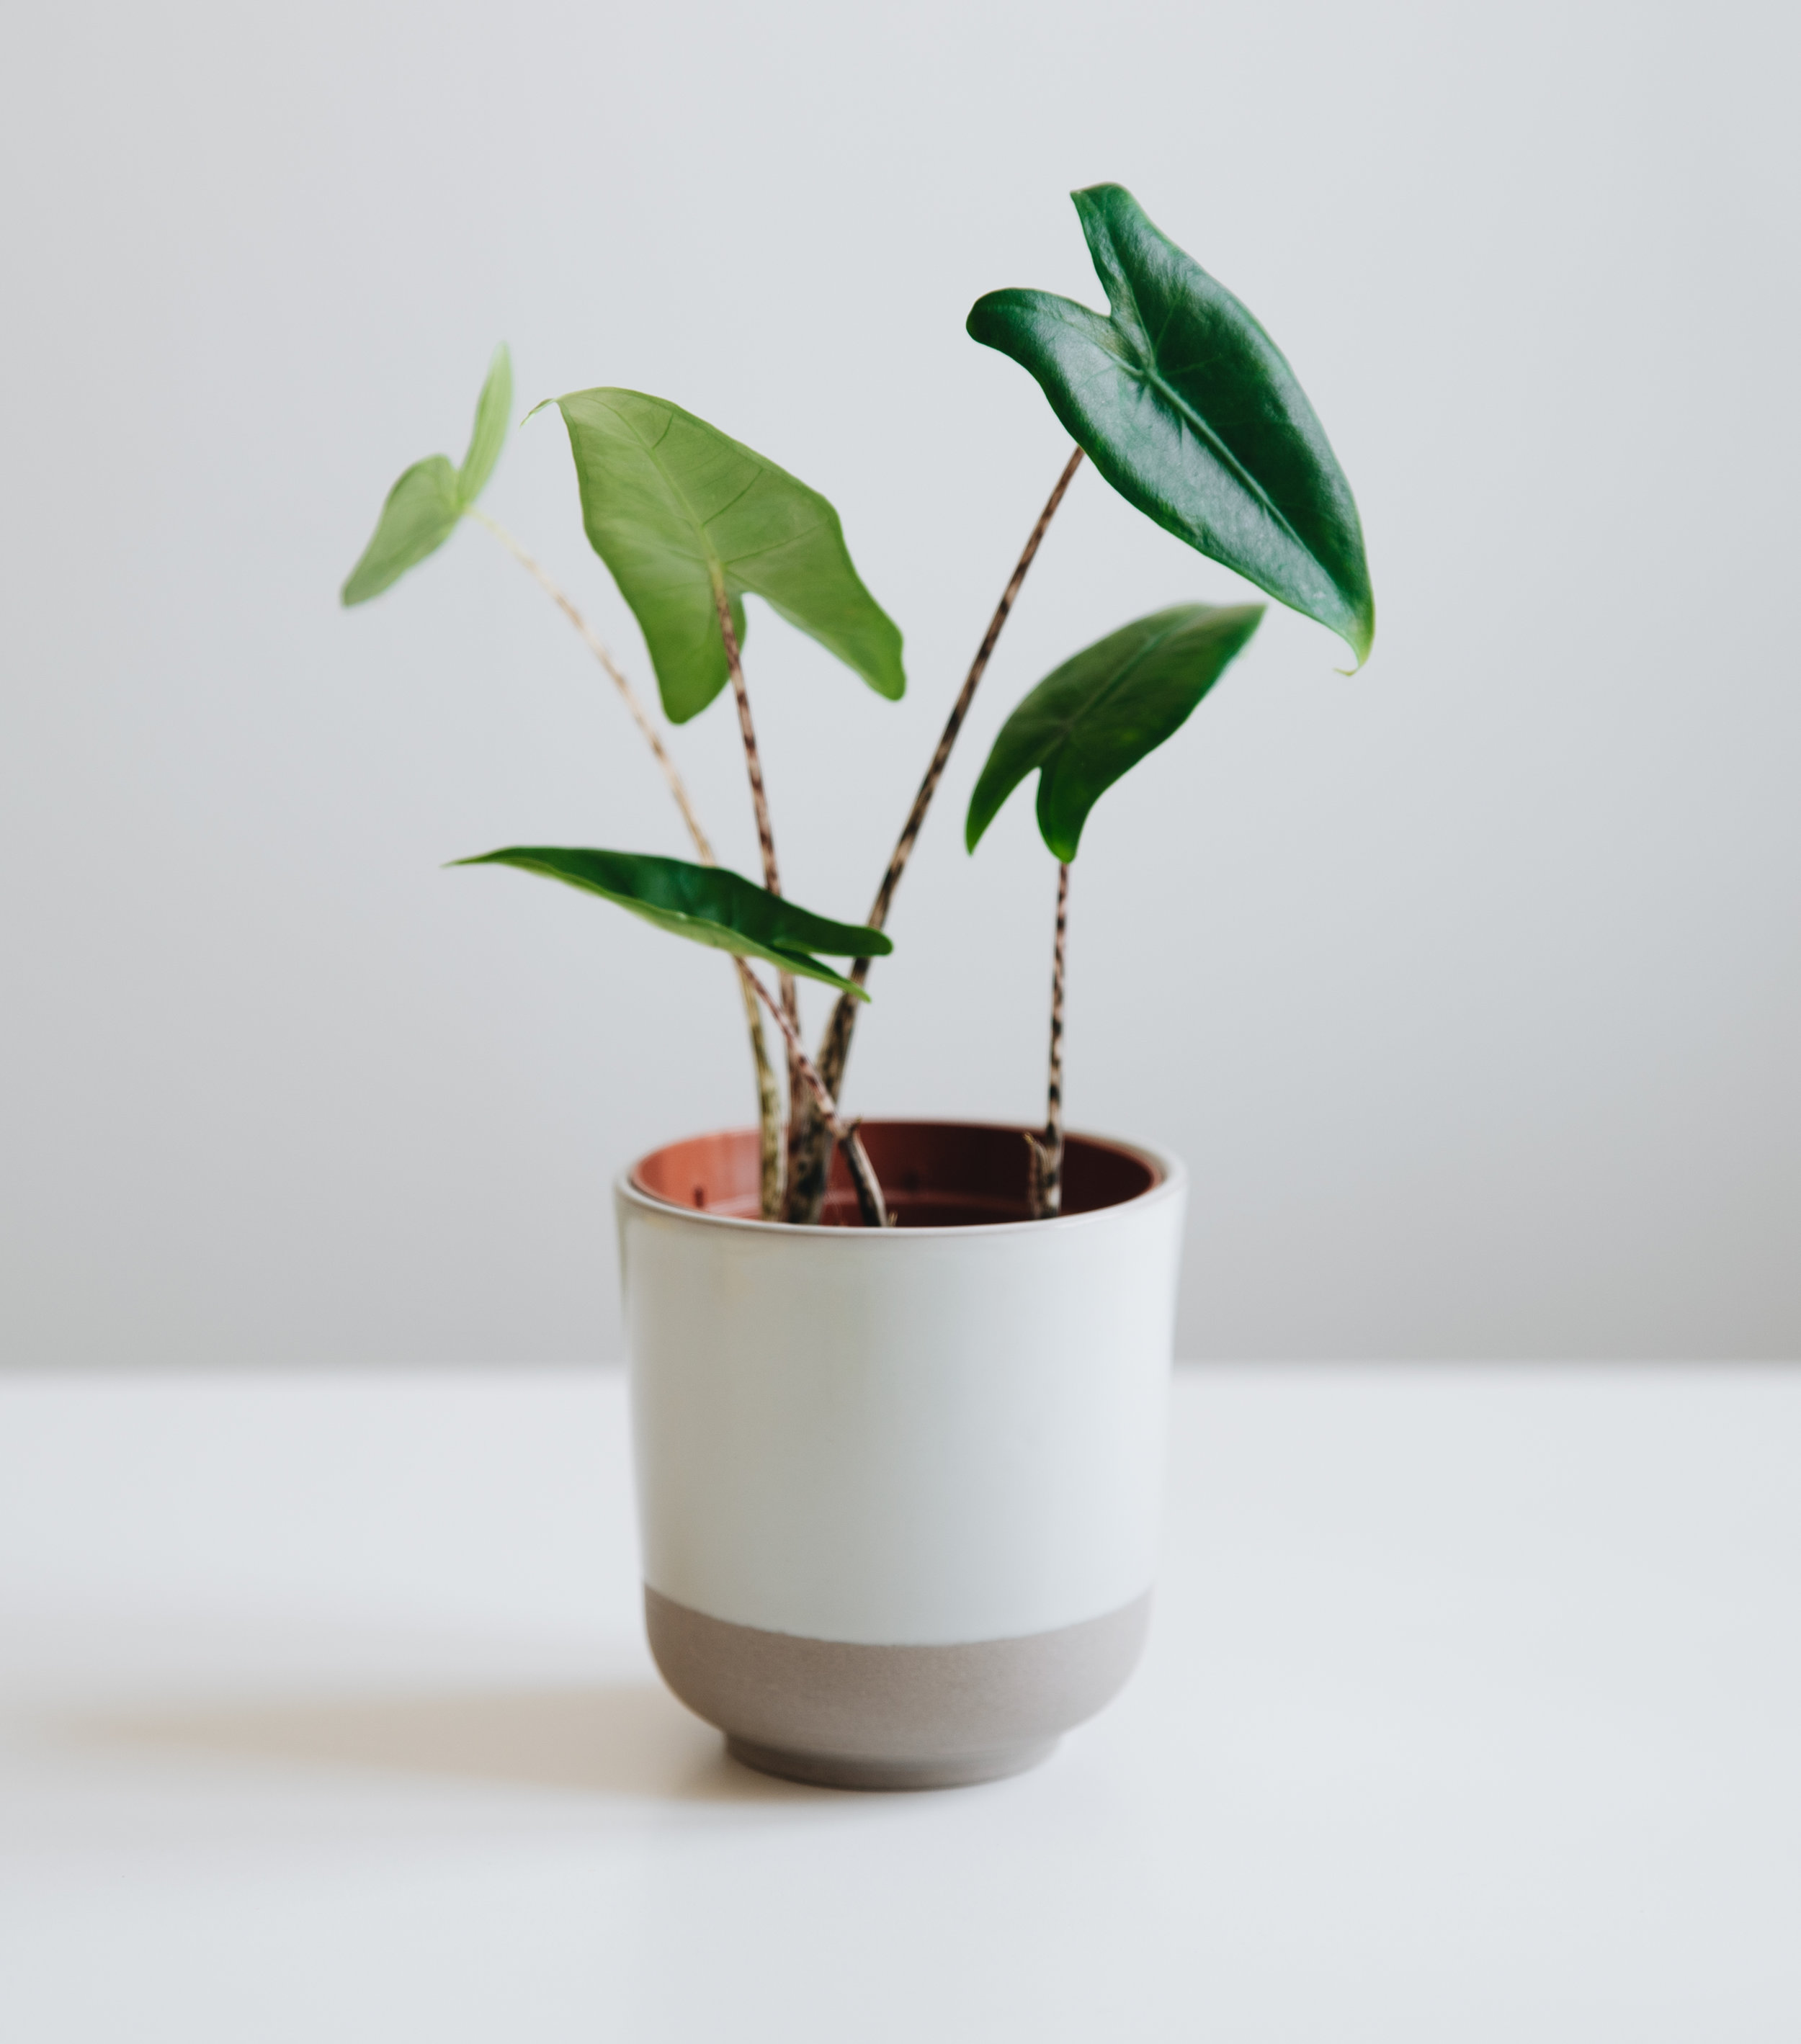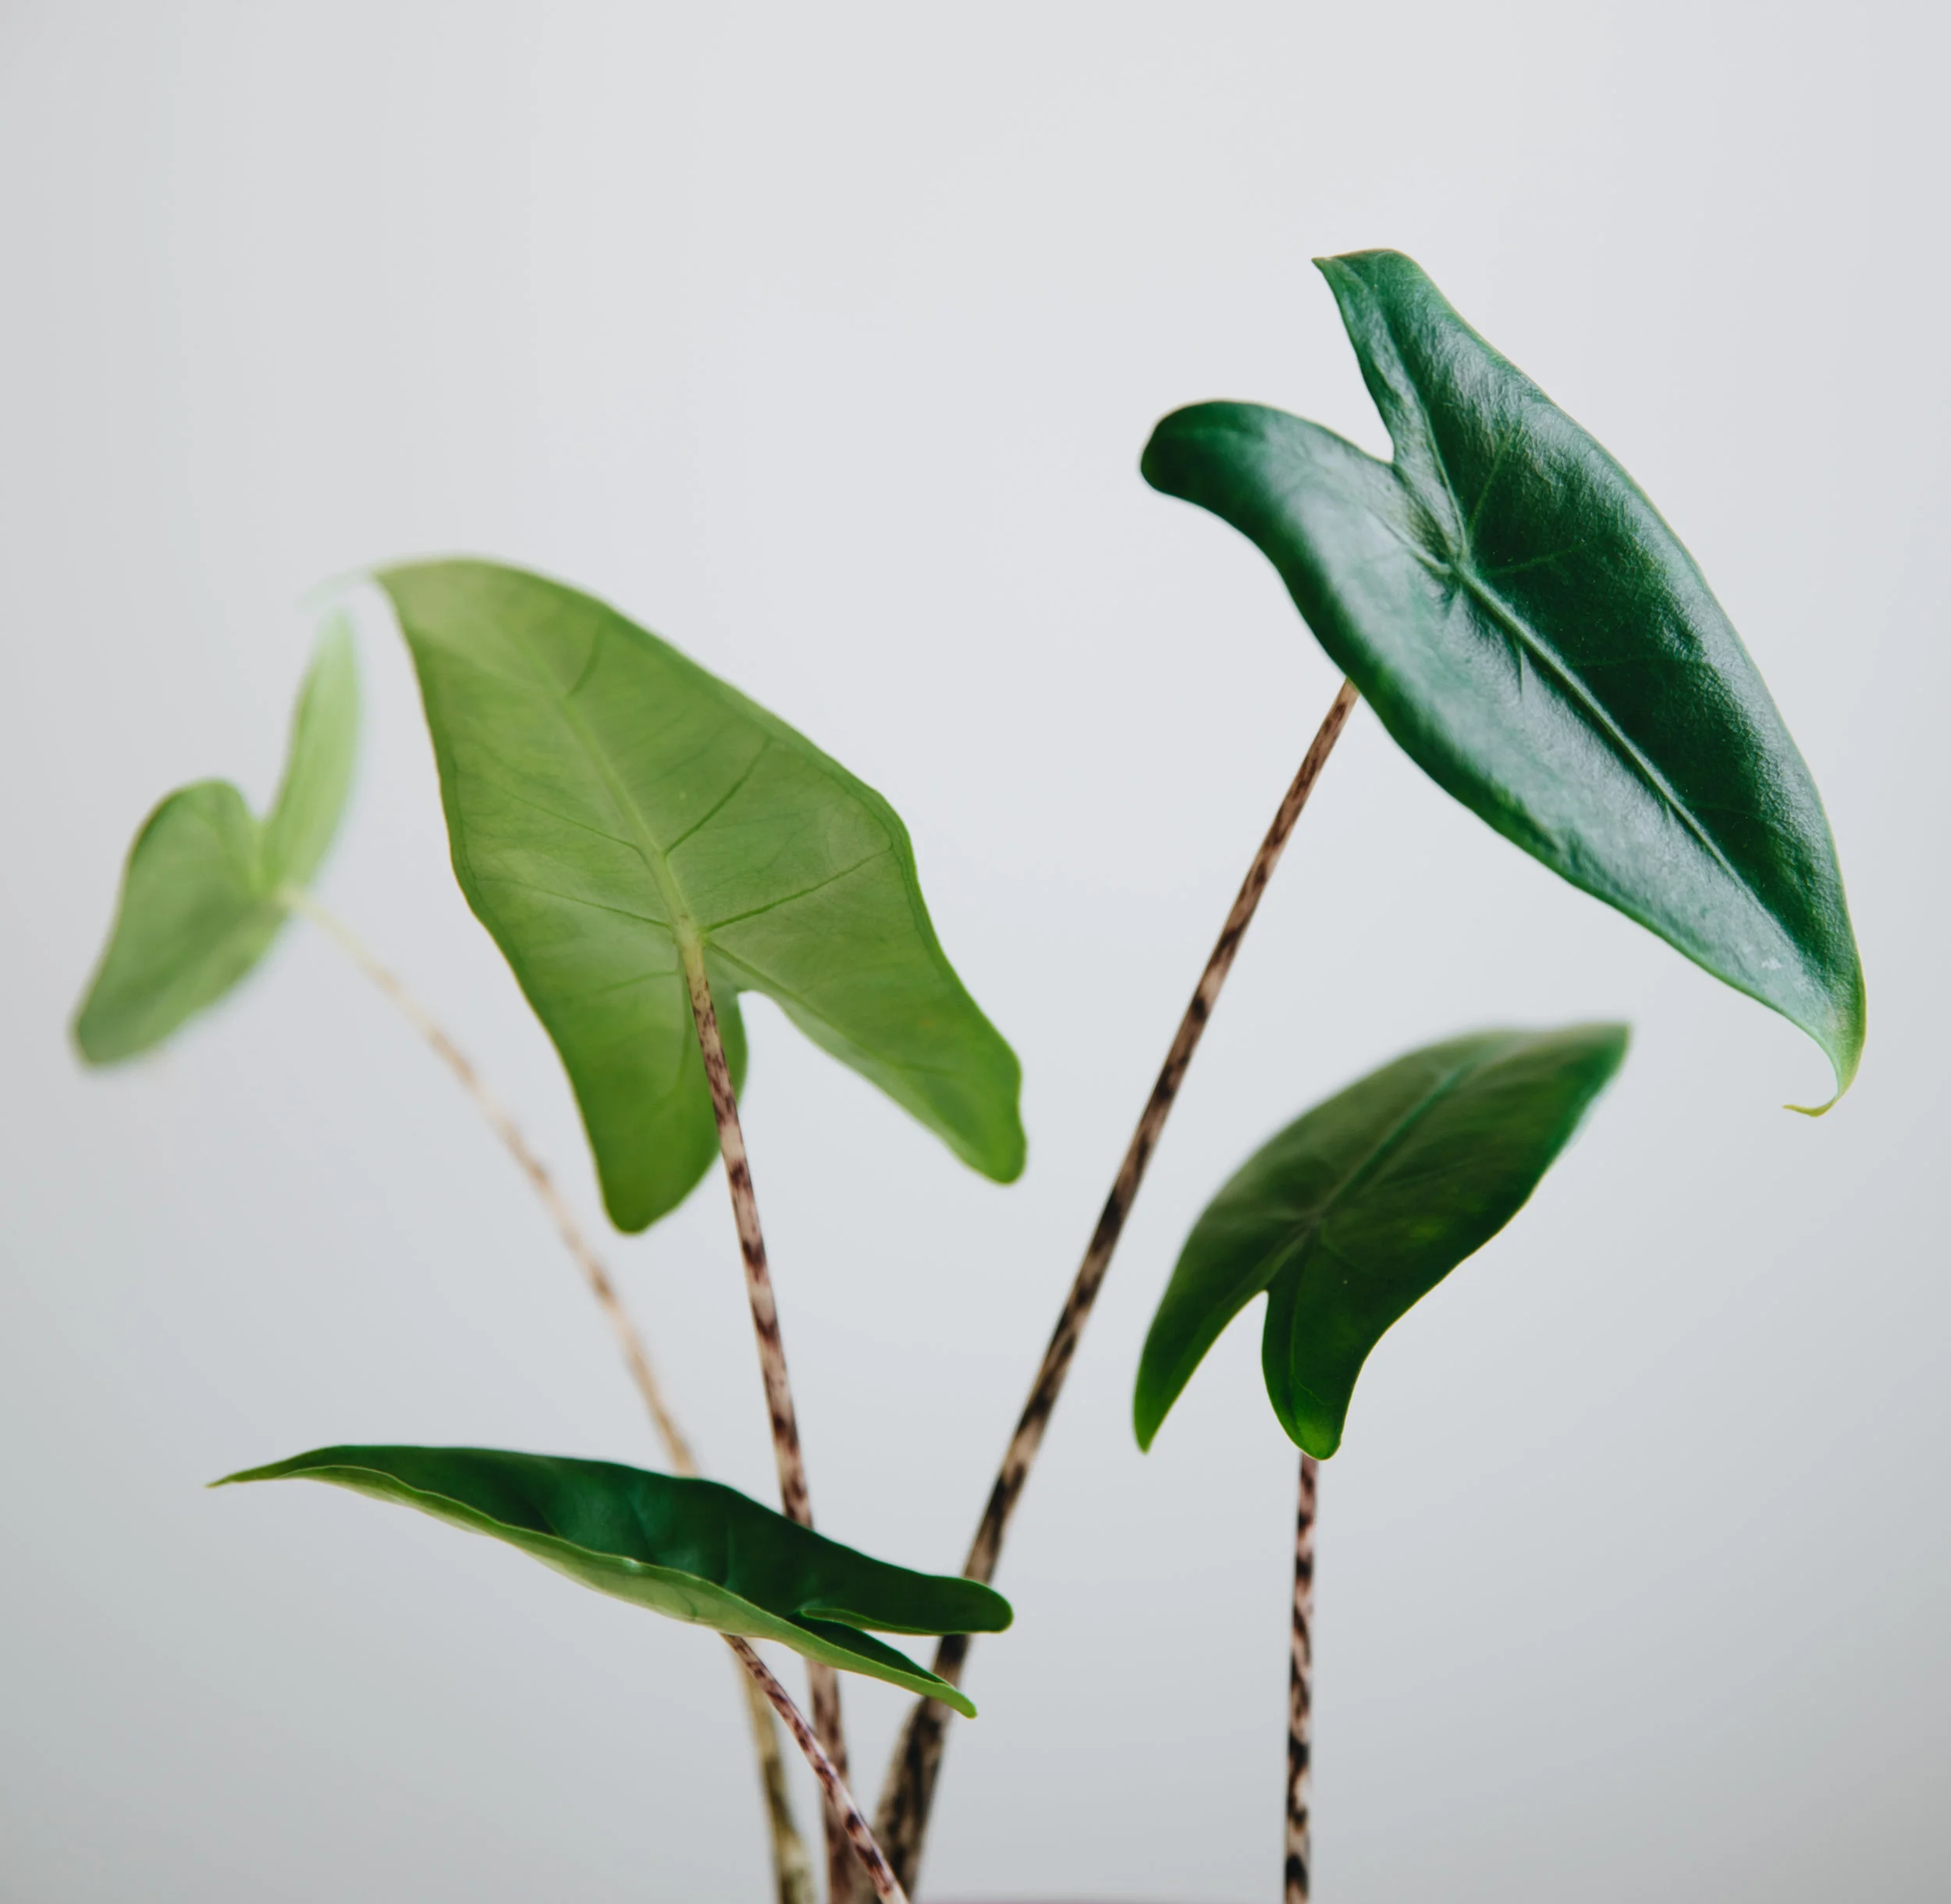
A while back I wrote about how to make your Alocasia happy in water. Now it’s time to talk about the bulbs! Before we start planting pups however, make sure to follow me on Instagram! Thanks!
When you’re repotting or transferring your Alocasia to water, you might find these round-shaped bulbs in the soil. Sometimes they’re attached to the roots of the plant, sometimes they’re just rolling around in the soil doing their thing (which is sleeping or being dead, basically). If they’re not attached to anything, they might not give you any new sprouts, but it’s worth a try. Don’t worry about removing the attached ones from the roots though, that won’t hurt them nor the plant. Just do it carefully and try to remove the bulb from the roots, rather than the bulb with roots from the plant. If the bulb has one or two roots of its own, that’s great too!
When you’ve got them in your hand, squeeze them gently and check so that they’re still quite hard. If they’re moist/soft, they’re probably too far gone and you should just throw them away. This happens when there’s been too much water in the soil for a long time and root/bulb rot is bound to happen.

Having removed the bulb(s), you can plant them directly into some well draining soil (preferably a little soil mixed with perlite and sand, or other loose and dry material). This is for the bulb not to rot when you water it, you’ll just have to remember to water it quite frequently. I put a glass cover over them, so that it created a kind of tiny greenhouse. This way I didn’t have to water them that often, and when I did, I just sprayed the soil and the bulbs with water until I saw the water going down below the surface. Maybe once a week or so, I removed the glass roof for an hour, to let the bulbs breath a little.
Just an inch below the soil mixture, I put tiny rocks (you may also use soil with little to no nutrition, like cactus mix). The bulbs won’t need that much soil in the beginning, the point is just for them to create roots, and then later on to start growing their first stem/leaf. It’ll take a while, so be patient. I’d say give it a month, and if it doesn’t start growing in that time, it might not happen at all. Mine took about 2-3 weeks to start growing, and I planted them in April/May. Less than one year later and some of my Alocasia babies have created new bulbs of their own. Amazing how nature works isn’t it!

I got some questions on Instagram about this subject:
Where do I find/buy Alocasia bulbs?
I’ve never seen them for sale. Might be that in some countries you can buy them (maybe online?). But I haven’t seen them and I’m not sure I’d recommend buying them either, because you never know the quality of them and if you pay a lot, it’s just wasted money. Just get them from another Alocasia, like I’ve explained above. If you don’t have one, maybe a friend has one and is repotting it soon? Be sure to hang around and grab a bulb or two!
What is the best humidity for the bulb?
Speaking from experience, I’ve noticed they rot easily (same goes for the roots/bases of the actual grown plants). Therefore they do need quick and easy draining soil (or, if it’s a full plant already, just stick it in water!). When it comes to humidity in the air, you may spray the leaves now and then. I don’t do that anymore, as I never noticed a difference in plant health when doing it. But it might help keeping spider mites away. For the bulbs to not dry out, keep them in a tiny greenhouse, a pot covered with a drinking glass or something else that you can easily pull off at home. As soon as the bulb has started sprouting however, you’ll need to take the cover off, or keep it off for much longer each time you remove it. Otherwise, again, it will rot.
Are there any other ways of creating new Alocasias?
Except for getting bulbs from the soil of other Alocasias, you can also pollinate the plants when they have flowers and hope for the best. But I’ve never tried this method myself, so I can’t say much about it. Bulbs are definitely easier, faster and usually more frequent than flowers. Do NOT under ANY circumstances try to take cuttings from Alocasias, because it will never ever work. They will only die.
CHECKLIST:
Make sure the bulb is still hard
Place the bulb with the root-part downwards
Use quick draining soil
Use a plastic or glass cover
Never let it dry out 100%
Plenty of light
PS. Remember to have a look at my story highlight on my Instagram. There you can see the evolution and growth of these bulbs over time!
If you have any further questions, let me know in the comments below or in a direct message on Instagram!